10 Essential Tips for Working with Epoxy Resin Adhesive for Perfect Results
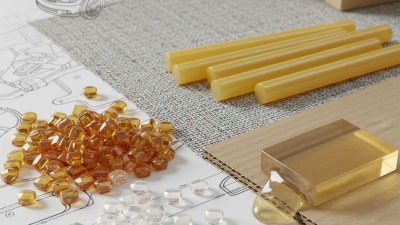
Epoxy Resin Adhesive is a powerful tool for various projects. It offers strength and versatility for both professional and DIY enthusiasts. However, achieving perfect results can be challenging. Many users overlook essential techniques, leading to unsatisfactory outcomes.
When working with epoxy, preparation is crucial. Surface cleanliness can significantly impact adhesion. Skipping this step may result in weak bonds. Additionally, proper mixing of the adhesive is vital. Inadequately mixed components can cause bubbling or uneven curing.
It's also important to consider working time. Epoxy Resin Adhesive has a limited lifespan after mixing. Rushing the process can lead to mistakes. Patience is key when waiting for the adhesive to cure completely. A small oversight can ruin an entire project. By understanding these tips, you'll enhance your epoxy experience and achieve better results.
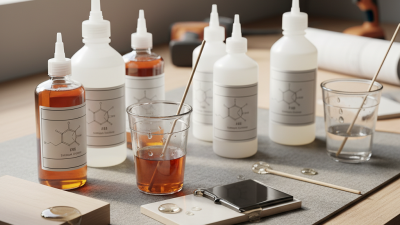
Choosing the Right Epoxy Resin Adhesive for Your Project
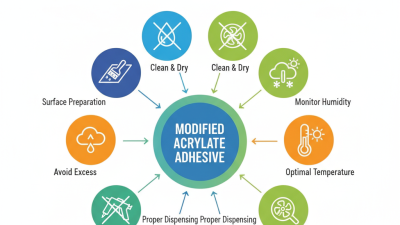
When embarking on your project, selecting the right epoxy resin adhesive is crucial. Numerous studies highlight that the success rate of bond longevity is significantly influenced by the choice of adhesive. According to a report by the American Institute of Chemical Engineers, approximately 30% of failures in projects can be traced back to improper adhesive selection. Thus, understanding the specific requirements of your materials is essential.
Consider the compatibility between the epoxy resin and the surfaces it will adhere to. Factors such as pore size, surface texture, and even moisture levels can impact adhesion. For instance, a report from the Adhesive and Sealant Council notes that surface preparation can increase bond strength by up to 50%. This step should not be overlooked.
Additionally, evaluating the environmental conditions where the adhesive will be used is critical. Some epoxies perform poorly at extreme temperatures or high humidity. The risks of using the wrong product are significant. Incomplete curing or bond failures can result in wasted materials and time. Pay attention to the ambient conditions before finalizing your choice. Reflecting on these aspects can help ensure you achieve the best results in your projects.
Preparing the Surface for Optimal Adhesion with Epoxy
Preparing surfaces for epoxy resin adhesive
is crucial for achieving strong bonds.
Dirty or uneven surfaces can lead to failures. Reports indicate that
up to 90% of adhesive failures stem from improper surface preparation.
Even small contaminants can cause significant issues.
Begin by cleaning the surface thoroughly. Use
isopropyl alcohol or acetone for
degreasing. Ensure the surface is free from dust and oils. In some cases,
sanding
the surface may be necessary. Sanding increases surface area and helps the epoxy grip better.
The
ideal surface roughness can significantly enhance adhesion strength.
Next, assess the environmental factors. Epoxy cures best
between 60°F and 95°F.
Humidity also plays a role; too much moisture can weaken the bond. Failure to consider these elements may result
in
peeling or delamination. Always test a small area if
unsure about your surface preparation.
Attention to detail
here can save time and ensure lasting results.
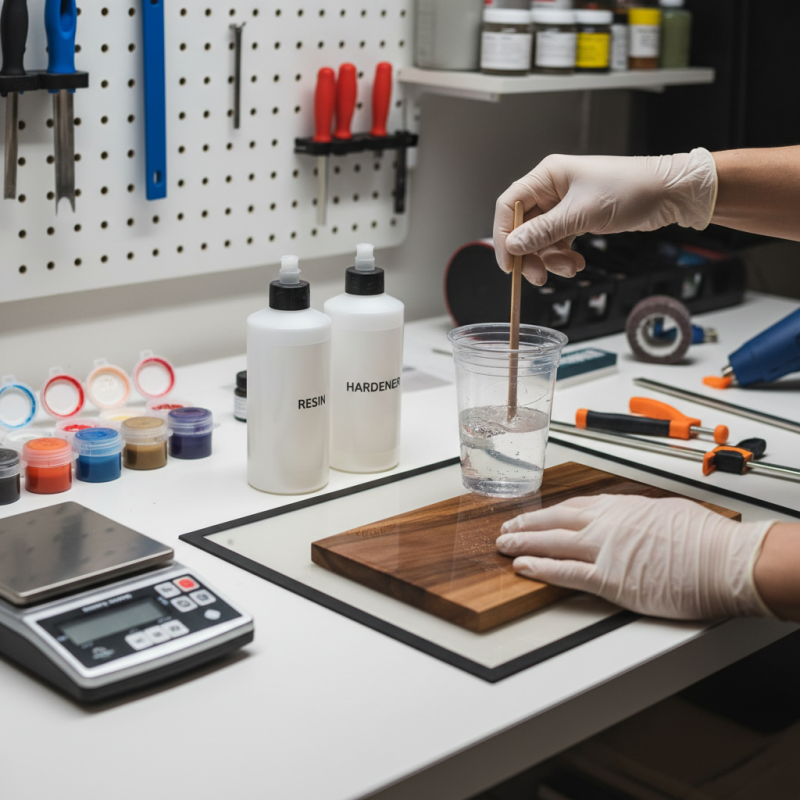
Mixing Epoxy Resin: Ratios, Techniques, and Best Practices
Mixing epoxy resin requires precision. Get the ratios right. A common mix is one part hardener to two parts resin. However, always check your product instructions. Accurate measurements are crucial. **Tip:** Use a digital scale for precision. Small errors can lead to weak bonding.
Techniques vary based on use. Stir the resin slowly to avoid bubbles. Mixing too fast introduces air, compromising the clear finish. Try mixing in a larger container to minimize overflow. **Tip:** Use a flat mixing stick for thorough blending. It’s easy to miss corners.
Reflect on your workspace setup. Dust can ruin a mixture. Clean your area beforehand. Also, plan for adequate curing time. Rushing can lead to mistakes. **Tip:** Use a timer. This can be surprisingly helpful. Allowing extra time ensures the best results.
Epoxy Resin Adhesive Mixing Ratios
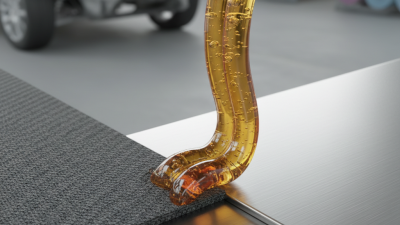
Applying Epoxy Resin: Tips for Even Distribution and Coverage
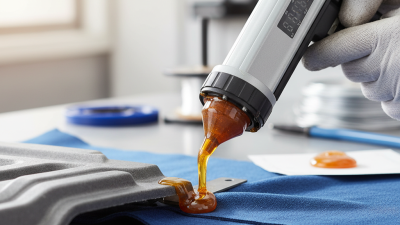
When applying epoxy resin, achieving even distribution is key. Start by measuring the resin and hardener accurately. Use a clean mixing stick to stir them thoroughly. Aim for a uniform mixture to prevent uneven curing. Pour the resin from a height to allow it to spread naturally across the surface. This simple technique helps avoid bubbles and creates a smoother layer.
While applying the resin, take your time. A steady hand works wonders. Use a brush or roller for better coverage, especially in tight corners. Be cautious, though; overworking the resin can lead to unwanted textures. If you notice uneven areas, you can remedy them, but the process requires patience. Allow the first layer to set before applying additional coats. This approach gives you control and helps minimize mistakes.
Don’t rush the process. Sometimes, it takes multiple attempts to achieve perfection. Each project offers lessons. Keep notes on what worked well and what didn’t. Mistakes can lead to unexpected results, which might turn out better than anticipated. Embrace experimentation. The right technique evolves with practice, allowing your skills to shine over time.
10 Essential Tips for Working with Epoxy Resin Adhesive for Perfect Results
| Tip Number |
Tip Description |
Benefits |
| 1 |
Prepare the Surface Properly |
Ensures better adhesion and reduces future peeling. |
| 2 |
Use a Proper Mixing Ratio |
Achieves optimal bonding strength and curing. |
| 3 |
Mix Thoroughly |
Prevents weak spots in the cured epoxy. |
| 4 |
Work in a Well-Ventilated Area |
Minimizes exposure to harmful fumes. |
| 5 |
Use Gloves and Protective Gear |
Protects skin from irritants and potential allergens. |
| 6 |
Apply in Thin Layers |
Encourages even curing and reduces bubbles. |
| 7 |
Use a Heat Gun for Bubbles |
Helps eliminate air bubbles in the resin. |
| 8 |
Allow Adequate Curing Time |
Ensures maximum strength and durability. |
| 9 |
Store Resin Properly |
Extends shelf life and ensures reliability. |
| 10 |
Clean Up Immediately |
Easier removal and less risk of contamination. |
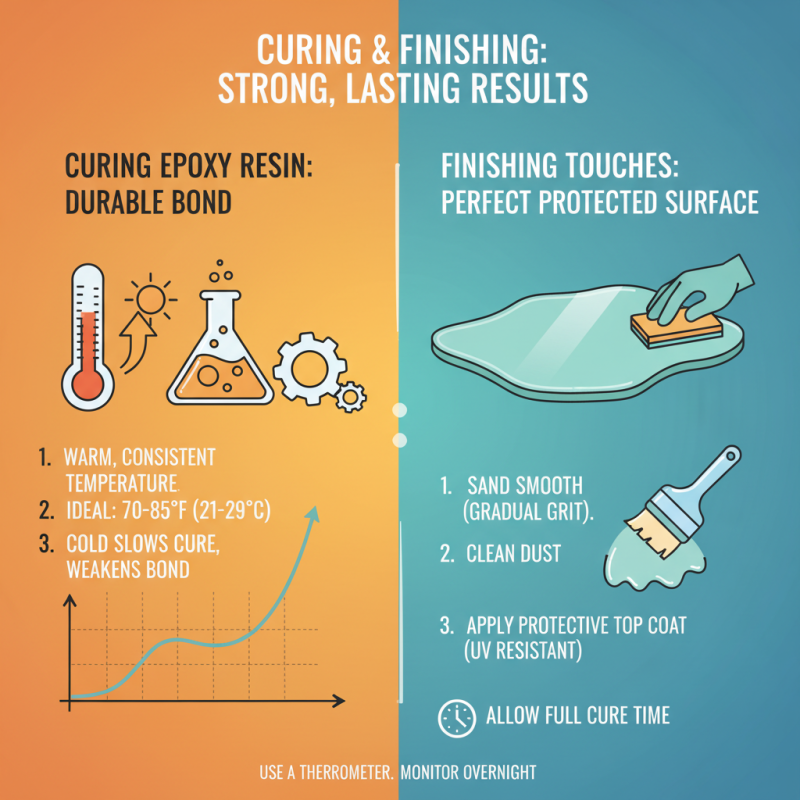
Curing and Finishing: Ensuring a Durable Bond and Perfect Finish
Curing epoxy resin adhesive correctly is crucial for a strong bond. Make sure the temperature is consistent. Epoxy requires a warm environment. Cold conditions can slow down the curing process significantly. Use a thermometer to check the workspace. Sometimes, temperatures drop overnight, affecting the adhesive.
Finishing touches are just as important. Once cured, sand the surface lightly. This step helps to remove any uneven areas. It can be tempting to skip this, but rough edges can lead to weak points. If the finish isn’t smooth, it might not hold well. Test the bond strength in small sections first. Sometimes, the biggest surprise comes from a small detail overlooked.
Finally, don't rush the curing time. It's easy to think it's ready too soon. Not following the manufacturer's guidelines can result in a less than perfect outcome. Allow extra time for thicker applications. You may find that patience pays off. Perfecting each step leads to a durable end product.