
Choosing the right Polyurethane Adhesive can determine whether a joint survives years of movement, moisture, and temperature changes. A neat bead is not enough. The adhesive must suit the materials, surface condition, production method, and expected stress.
This guide presents ten practical tips for making that decision with greater confidence. It considers bond strength, flexibility, curing speed, viscosity, open time, moisture resistance, and application equipment. A rigid formula may hold metal firmly but fail when bonded panels expand at different rates. A fast-curing product can improve output, yet it may leave too little time for accurate positioning.
Real workshop experience often reveals details that product sheets cannot show. Dust on a porous surface, uneven clamping pressure, or a cold storage room can change the result. Small details matter. Testing remains essential.
A responsible selection process includes technical data, supplier support, sample trials, and clear safety information. Review the recommended substrates and curing conditions before committing to large-scale use. If possible, prepare test panels that reflect real production surfaces, joint widths, and temperatures. Record failures honestly. That step is easy to skip.
No adhesive works perfectly in every situation. Even experienced teams can overlook aging, vibration, or repeated wetting. These tips are designed to reduce uncertainty, not remove it. Careful comparison and practical verification will help you choose a Polyurethane Adhesive that performs reliably in its intended environment.
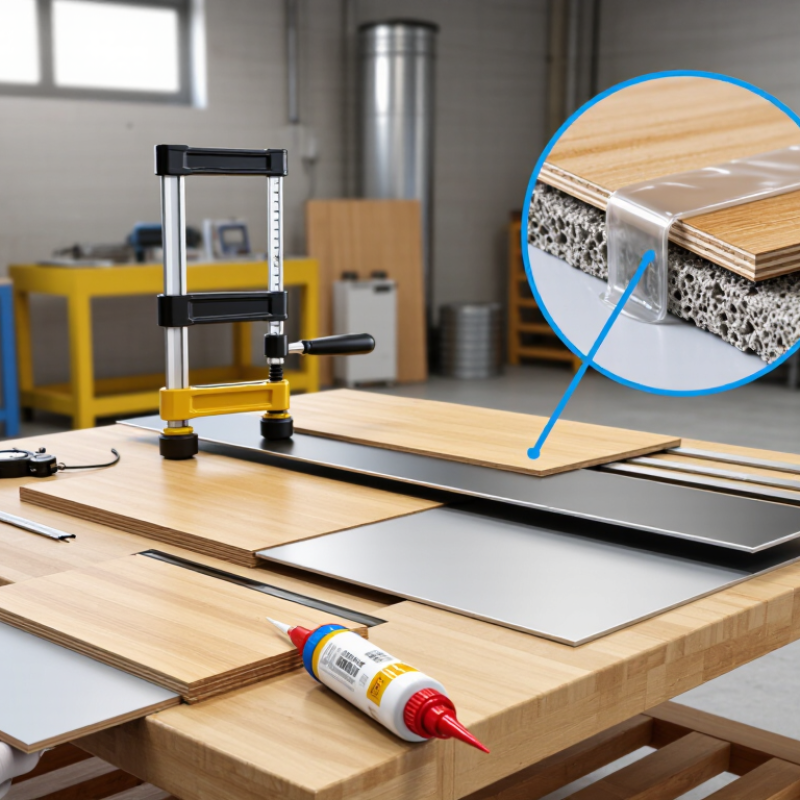
Set Bond Targets: 1–20 MPa Shear Strength and −40–120°C Service
Tip 1: Define the required shear strength before comparing products. A 1 MPa target may suit light panels, while 20 MPa demands careful joint design.
Tip 2: Check the test method. Strength values vary with substrate, temperature, gap, and loading speed.
Tip 3: Test the actual materials, not only metal coupons. Plastics, painted surfaces, and composites can behave differently.
Tip 4: Confirm service temperatures from −40°C to 120°C. The adhesive rating must cover the full operating cycle.
Tip 5: Examine strength after heat exposure and cold soaking. A bond that passes room-temperature testing may weaken after repeated cycling.
Tip 6: Control bond-line thickness with spacers or calibrated fixtures. Thick layers can improve gap filling but may reduce shear performance.
Tip 7: Match cure speed to production needs. Fast curing sounds efficient, yet rushed handling can create hidden movement.
Tip 8: Prepare surfaces consistently. Cleaning, abrasion, and primer use should follow documented procedures. Small changes matter.
Tip 9: Measure working time in real shop conditions. Humidity can alter polyurethane curing and final performance.
Tip 10: Review flexibility, impact resistance, and long-term aging, not just peak strength. In application reviews, I have seen strong bonds fail because thermal movement was ignored. That was avoidable. Build sample joints, record failures, and repeat tests after conditioning. No single datasheet value replaces evidence from the finished assembly.
10 Tips for Choosing Polyurethane Adhesive
Screen substrates need testing, not guesswork. Prepare bonded coupons from the actual mesh, frame, coating, or polymer surface. ISO 4587 measures tensile lap-shear strength under controlled conditions. ASTM D1002 is useful for metallic lap joints. Their results are not interchangeable. Test at least five specimens per condition, then report the average and failure mode.
Surface energy gives an early warning. Published Owens–Wendt data commonly place polyethylene and polypropylene near 30–35 mJ/m². Clean glass often exceeds 300 mJ/m². These values indicate wetting potential, not final bond strength. Contamination changes everything. Handle prepared coupons with gloves, and record cleaning solvent, drying time, temperature, and surface age. A water-contact-angle result below 60 degrees may suggest better wetting, but it is not a universal pass limit.
Use the same adhesive thickness and cure schedule for every substrate. Record peel, cohesive, and adhesive failures separately. A high lap-shear number can still hide weak edges. ASTM D1002 itself favors standardized metal geometry, so plastic screens may need a supporting fixture or modified design. That is a limitation worth admitting. Surface-energy data can guide selection, but real production dust, ink residue, and flexing may defeat a perfect laboratory result. Industry testing guidance repeatedly favors process-specific validation over catalog values. Test under humidity and heat too. Small details matter.
Typical surface-energy values help screen substrates before adhesive selection. Higher-energy materials generally wet more readily, while low-energy plastics such as polyethylene and polypropylene often require cleaning, abrasion, plasma, flame treatment, or a suitable primer. Confirm the final bond using lap-shear testing in accordance with ISO 4587 or ASTM D1002. Values are representative ranges reported for common material classes and can vary with formulation, contamination, texture, and surface treatment.
Choose the cure chemistry before comparing strength, color, or price. A 1K moisture-cure adhesive uses humidity from the air or substrate. It needs no mixing, which simplifies field work. However, curing may slow in dry rooms or sealed joints. Thick beads can remain soft inside.
A 2K polyurethane adhesive cures after two components mix. Many formulas reach handling strength within 5–60 minutes. This suits production lines, repairs, and assemblies needing faster movement. The working time is limited, though. Mixing errors can reduce strength and create soft spots.
Test real materials, not only laboratory coupons. Concrete dust, painted metal, wood moisture, and surface temperature can change results. Clean the surfaces, apply a measured bead, and record cure time at the job site.
I have learned that “fast” does not always mean better. A rushed bond may fail when stresses arrive later.
Review the technical data sheet and safety instructions, but question assumptions that do not match your conditions. No single chemistry fits every application.
10 Tips for Choosing Polyurethane Adhesive
Durability starts with evidence, not a product label. Require results after at least 1,000 hours of heat and water aging. Ask for the exact temperature, humidity, immersion method, and cure time. Without these details, “water resistant” means very little.
ASTM D1002 supports lap-shear testing, while ASTM D1876 measures T-peel performance. ISO 9142 provides a framework for accelerated environmental aging. Use these methods to compare adhesive systems under consistent conditions. Request both initial strength and retained strength after aging. A useful report should show failure mode, not only force values. Cohesive failure often indicates better bond integrity than clean adhesive separation.
Check peel data on the actual materials. Polyurethane may perform differently on painted steel, aluminum, plastics, or wood. Ask for test panels matching your production parts. Industrial durability reviews commonly warn that heat, moisture, and stress interact rather than act separately. That matters in doors, vehicle interiors, and outdoor assemblies. Small gaps can trap water. Poor surface preparation can distort results. I would also request several specimens, because one impressive curve proves little. The reporting may still be imperfect, but transparent limitations make the decision safer.
10 Tips for Choosing Polyurethane Adhesive
Confirm Safety and Value: VOC, SDS, Shelf Life, and Cost per Bond
Tip 1: Read the SDS before opening the cartridge. OSHA’s Hazard Communication Standard requires a 16-section SDS, including hazards, handling, storage, and first aid. Check Section 3 for ingredients and Section 8 for exposure controls. Do not rely on a “low-odor” claim alone. ASTM D2369 and ISO 11890-2 provide recognized methods for evaluating volatile content. Results may vary with test conditions. That detail matters.
Tip 2: Compare VOC data by the same test method. A lower published value is useful only when the measurement basis matches. Confirm whether the figure covers the adhesive, mixed system, or cured film. Review local air-quality requirements, such as the category limits listed in South Coast AQMD Rule 1168. Keep ventilation practical. A small workshop still needs fresh air.
Tip 3: Treat shelf life as a cost factor. Check the manufacture date, unopened storage temperature, and remaining usable months. I once accepted a cheaper batch with limited shelf life. Part of it cured poorly before use. Calculate cost per bond: purchase price plus waste, rework, labor, and disposal. For example, a 100-dollar cartridge producing 200 reliable bonds costs 0.50 dollars per bond. Record actual output from a trial run. Estimates are often optimistic.
| No. | Selection Tip | Data Dimension | Typical Benchmark or Requirement | Why It Matters | Practical Check |
|---|---|---|---|---|---|
| 1 | Compare VOC content | VOC level by mass or volume | Water-based or 100% reactive systems may be near 0 g/L; solvent-containing products commonly range from approximately 50 to 250 g/L or more. | Lower VOC can reduce workplace emissions, odor, ventilation demand, and regulatory burden, although performance and curing conditions must also be suitable. | Request the current technical data sheet and verify the test method, units, and applicable local VOC limit. |
| 2 | Read the SDS before purchase | Hazard classification and handling controls | Review all 16 SDS sections, especially hazards, composition, first aid, accidental release, handling, storage, exposure controls, PPE, transport, and disposal. | An adhesive may contain reactive isocyanates, sensitizers, flammable solvents, or substances requiring respiratory and skin protection. | Use only a current SDS in the working language and compare its revision date with the product supplied. |
| 3 | Confirm shelf life | Unopened storage life | Many moisture-reactive polyurethane adhesives have an unopened shelf life of approximately 6 to 12 months when stored as specified; some formulations provide longer periods. | Expired material can show increased viscosity, skin formation, poor wetting, slower cure, or reduced bond strength. | Check the manufacturing date, expiration date, lot number, and minimum remaining shelf life required at delivery. |
| 4 | Match open time to assembly speed | Open time or working time | Common one-component and two-component systems may offer working times from about 5 minutes to 60 minutes, depending on formulation, temperature, humidity, and joint conditions. | Too short a working time can cause poor positioning; too long a time can slow production and increase fixture requirements. | Run a timed trial using the actual substrate temperature, bead size, and assembly sequence. |
| 5 | Check cure speed and conditions | Time to handling strength and full cure | Handling strength may develop in several hours, while full mechanical and chemical performance commonly requires approximately 24 to is 72 hours, depending on the product and environment. | Cure time affects line speed, fixture design, storage space, and the risk of moving parts before the bond is ready. | Validate cure at the lowest expected temperature and humidity, not only under ideal laboratory conditions. |
| 6 | Evaluate bond strength | Lap-shear and peel performance | A suitable product should be evaluated using the actual substrates and a recognized test method such as ASTM D1002 for lap shear or ASTM D903 for peel, where applicable. | Published strength values are highly dependent on substrate, surface preparation, bond-line thickness, temperature, and test method. | Require cohesive or substrate-related failure in testing rather than relying only on a headline strength value. |
| 7 | Confirm substrate compatibility | Adhesion to common materials | Test metals, wood, concrete, glass, painted surfaces, plastics, and composites individually; low-surface-energy plastics often require special treatment or primer. | A polyurethane adhesive that bonds well to one material may fail on another because of surface energy, contamination, moisture, or chemical resistance. | Use clean, representative production substrates and document cleaning, abrasion, primer, and drying steps. |
| 8 | Allow for joint movement | Elongation and flexibility | Flexible polyurethane grades can show elongation from tens to several hundred percent; the relevant value depends on the cured formulation and test standard. | Elasticity helps absorb vibration, thermal expansion, impact, and differential movement between bonded materials. | Estimate joint movement across the operating temperature range and avoid selecting solely on tensile strength. |
| 9 | Check environmental resistance | Temperature, moisture, chemicals, and aging | Compare the stated service temperature range, water or humidity resistance, UV exposure limits, and chemical compatibility with the actual application conditions. | A bond that passes initial testing may weaken after heat, moisture, freeze-thaw cycling, solvents, or prolonged outdoor exposure. | Perform accelerated aging and condition-specific testing before approving the adhesive for long-term service. |
| 10 | Calculate cost per bond, not price per package | Material cost per finished joint | Formula: Cost per bond = adhesive price per gram × adhesive grams used per bond. Example: $0.018/g × 8 g = $0.144 per bond. | The lowest package price may not provide the lowest installed cost if waste, mixing nozzles, rework, labor, curing time, or disposal costs are higher. | Include adhesive consumption, packaging waste, applicator parts, labor, scrap, testing, storage, and disposal in the total-cost calculation. |
Note: The numerical ranges are general industry benchmarks for preliminary comparison. Always confirm the current product-specific technical data sheet, safety data sheet, regulatory requirements, and application test results before approval.