How to Choose the Right Epoxy Resin Adhesive
Choosing the right Epoxy Resin Adhesive starts with the joint, not the label. Two products may look similar on a store shelf, yet behave differently under heat, moisture, vibration, or constant load. Dr. Sina Ebnesajjad, an adhesives specialist and co-author of Handbook of Adhesives and Surface Preparation, offers a useful principle. In paraphrase: “Match the adhesive to the materials and the conditions the joint will face.” That is a better starting point than choosing by maximum strength alone.
What are you bonding: metal, wood, concrete, or a composite? Will the finished joint sit outdoors, near warm equipment, or underwater? Check the product’s technical data sheet for substrate compatibility, working time, cure schedule, service temperature, and gap-filling ability. A five-minute formula may suit a quick repair, but leave little time to align parts. A slower system can allow careful positioning. Surface preparation matters, too. Dust, oil, and smooth finishes can weaken a bond; a clean, lightly abraded test piece can reveal problems before the real repair.
Small details count. A bead that looks neat may still be too thick, and a firm surface may hide uncured material beneath it. Read the manufacturer’s instructions, measure components accurately, and test on scrap when possible. There is no universal best choice. The right Epoxy Resin Adhesive is the one suited to your materials, workspace, and expected conditions—though even a careful choice deserves a final, practical check.
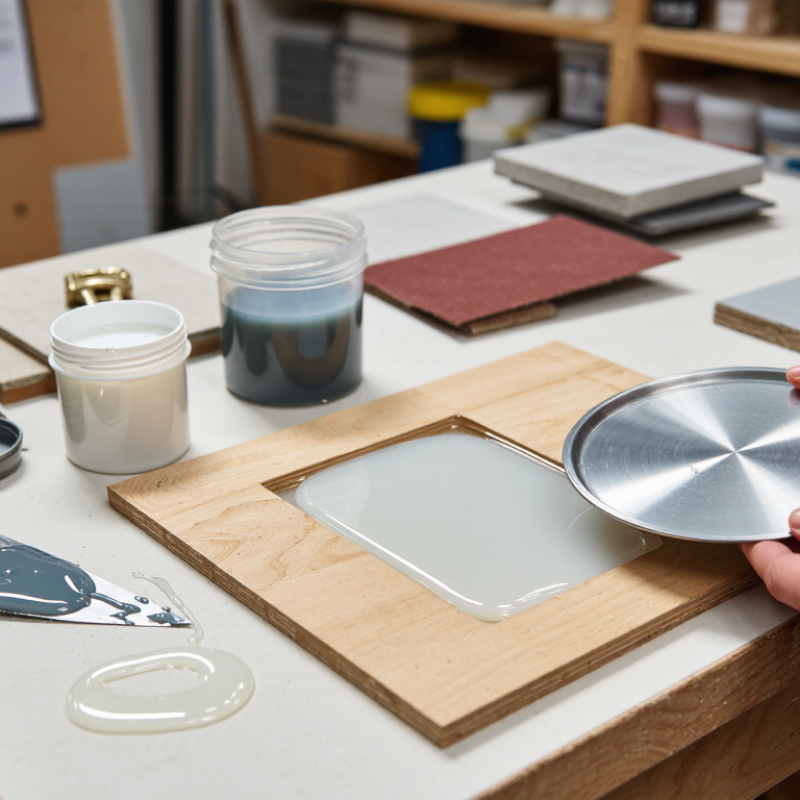
Identify the Materials and Bonding Requirements
Before choosing an epoxy resin adhesive, identify both materials—not just the product names.
“Metal” could mean bare aluminum, coated steel, or an oxidized part, and each surface may bond differently. Plastics vary too; some resist adhesives or soften during preparation. Check the actual substrate. A small test on a hidden area can reveal poor wetting or surface damage before a full repair.
Then define what the joint must withstand.
Will it carry a steady load, absorb vibration, or face repeated heating and cooling? A rigid epoxy may suit a bracket that stays still, yet crack in a joint that flexes. Consider gaps, moisture, chemicals, and service temperature. A close-fitting joint on a dry indoor object has different needs from a damp outdoor fitting. Details matter.
Surface preparation is part of the bond, not an optional extra.
Remove oil and dust, and follow the adhesive’s instructions for sanding or cleaning each material. Keep the parts aligned while curing; movement can weaken the joint. Cure time is easy to underestimate. Check the technical data for substrate compatibility, mixing ratio, working time, and full cure—not only the advertised strength. If the materials are unknown, or failure could cause injury, get a qualified assessment rather than relying on a quick test. Adhesive selection is sometimes less certain than it looks.
Assess Strength, Flexibility, and Environmental Resistance
Choosing an epoxy resin adhesive begins with the forces the joint will face. A rigid bracket carrying steady weight needs strong shear resistance, while a handle may experience peeling or sudden impact. Check the product’s test conditions, not only its headline strength. Surface preparation matters, too: dust, oil, and smooth coatings can weaken a bond. A small trial on the actual materials is worthwhile. It may reveal an awkward fit before assembly.
Strength alone can mislead. A very hard adhesive may crack when bonded parts flex or expand at different rates. For a plastic panel beside metal, modest flexibility can help absorb movement. Compare elongation and service-temperature data, then consider the joint’s shape and thickness. Thin bond lines often behave differently from thick fills. Real assemblies are messy.
Moisture, heat, and chemicals can change performance over time. Check whether the cured adhesive resists immersion, outdoor temperature swings, or the specific cleaner used nearby. “Water-resistant” does not necessarily mean suitable for constant immersion. UV exposure can also affect exposed resin, so a protected bond may last longer than one in direct sunlight. Datasheets provide useful limits, but they cannot predict every surface or climate. I would test a sample through realistic wet-and-dry cycles before relying on a critical joint.
Check Application Conditions and Safety Requirements
Before choosing an epoxy adhesive, match its working limits to the job site. Read the technical data sheet for the permitted temperature, humidity, working time, and full-cure time. A cold garage can slow curing if the product needs warmer conditions. Check that both surfaces are clean, dry, and compatible; oil, paint, or loose dust can weaken adhesion. Small details matter.
Plan the fit before mixing. Many two-part epoxies begin curing soon after the components meet, so have clamps and parts ready. Measure the stated ratio accurately, and mix only what you can apply within the listed working time. It is tempting to think a thicker bead will compensate for a poor fit. It usually will not. Test the adhesive on scrap material when possible; this can reveal spreading or curing problems before assembly.
Review the safety data sheet and wear the specified gloves and eye protection. Work with adequate ventilation, especially in a small room, and avoid skin contact with uncured resin. Do not use a cured product on food-contact surfaces unless its instructions specifically allow it. Smell is not a reliable warning. Follow the cleanup and storage directions, and keep components away from children and pets. If site conditions change, pause and recheck the instructions.
Test Compatibility and Confirm the Final Selection
How to Choose the Right Epoxy Resin Adhesive
Test Compatibility and Confirm the Final Selection
A resin that bonds strongly to one surface may fail on another. Check the adhesive against the actual materials, including coatings, plastics, and metals. Clean and prepare small sample pieces exactly as you would during assembly. Follow the stated mixing ratio and note the room temperature, humidity, and cure time. Small details matter. A glossy surface or oily fingerprint can change the result.
Tips: Make several test joints, not just one. Keep the bond area and adhesive thickness consistent. After the full cure, inspect for gaps, soft spots, or peeling. Apply a gentle pull or shear load suited to the part, and observe where the joint fails. Record the conditions. One successful sample is useful, but it is not proof of reliable performance.
Before final selection, repeat the test under realistic working conditions. If the part will face vibration, heat, moisture, or repeated loading, include those exposures where practical. Compare results across samples and check whether the adhesive remains workable within your assembly time. A test can still miss something; that is worth admitting. If results vary, review surface preparation, mixing, and cure conditions before choosing.